How to DIY a Concrete Basement Epoxy Floor [Easy 2023 Guide]

How to DIY Epoxy a Concrete Basement Floor [Easy 2023 Guide]
Growing up, we had the ugliest and scariest basement in all the mid-West. I had nightmares about it! Cracked tile flooring and dirt crumbling up everywhere … it was the worst!
Now, a nice basement is a must! A good DIY project to upgrade a basement? Installing DIY basement floor epoxy.
Epoxy floor coatings are durable and attractive for finishing a basement floor. Why DIY? These floors can be costly to have professionally installed!
If you’re looking for a more budget-friendly option, consider tackling the project yourself! You can give your basement a beautiful, long-lasting epoxy floor with some preparation and the right tools and materials.
In this tutorial, we’ll walk you through the steps for a successful DIY epoxy basement floor, from surface preparation to adding the finishing touches.
Ready? Let’s go ahead and jump in.
What Materials Do You Need for a DIY Epoxy Floor?
Here is a list of materials that you may need for a DIY epoxy basement floor project:
- Epoxy floor coating kit – there are many kinds of floor kits available!
- Cleaner or degreaser
- Sandpaper or floor grinder
- Painters tape
- Roller or brush for applying the epoxy
- Drop cloths or plastic sheeting
- Personal protective equipment (such as gloves and respirator mask)
You may also need additional tools. It depends on the condition of your basement floor and the specific epoxy kit you choose.
Be sure to read the instructions that come with your epoxy kit carefully. It’s also helpful to gather all the necessary materials before starting the project.

Step 1: Preparing the Concrete Floor Surface
Before applying the epoxy, it’s essential to prepare your basement floor’s surface properly and ensure the floor is clean. Proper preparation is key!
This includes cleaning and repairing any damage or imperfections. Begin by thoroughly sweeping and vacuuming the floor to remove dirt, dust, and debris.
Then, use a cleaner or degreaser to remove oil or grease stains. If the floor has cracks, holes, or other damage, you’ll need to repair them before proceeding.
This may involve filling in cracks with an epoxy repair compound. Or you might need to use a floor grinder to smooth out rough or uneven areas.
Proper surface preparation is crucial! This step ensures that the epoxy adheres properly and creates a smooth, seamless finish.
Be sure to follow the instructions provided with your epoxy kit! It’s essential to take your time to ensure the best possible results.
Do You Need to Etch the Concrete?
In most cases, it is recommended to etch the concrete before applying an epoxy coating.
Etching the concrete is an important step. It helps to create a rough surface that allows the epoxy to bond more effectively.
The epoxy may not adhere appropriately without proper etching and could peel or blister over time.
There are a few different ways to etch concrete. Options include using a chemical etching solution or mechanical methods like sandblasting or grinding.
Follow the manufacturer’s instructions if you’re using a chemical etching solution. Also, make sure you use proper protective equipment.
If you’re using a mechanical method, wear appropriate protective gear. Work carefully to avoid damaging the concrete.
It’s worth noting that some epoxy kits may include an etching solution or may not require etching at all.
Again, read the instructions provided with your specific epoxy kit. This will help you determine whether etching is necessary and how to correctly prepare the surface of your concrete.

Step 2: Mixing the Epoxy Coating
Once you’ve prepared the surface of your basement floor, it’s time to mix and apply the epoxy.
Be sure to read the instructions provided with your epoxy kit carefully! The specific mixing and application instructions may vary depending on your product.
You’ll want to start by mixing the epoxy according to the instructions. Be sure to use a clean container and a mixing stick.
Make sure to mix the epoxy thoroughly – it’s important it’s mixed together well. Pay attention here: any unmixed resin or hardener will not cure properly.
Step 3: Apply Epoxy Floor Coating
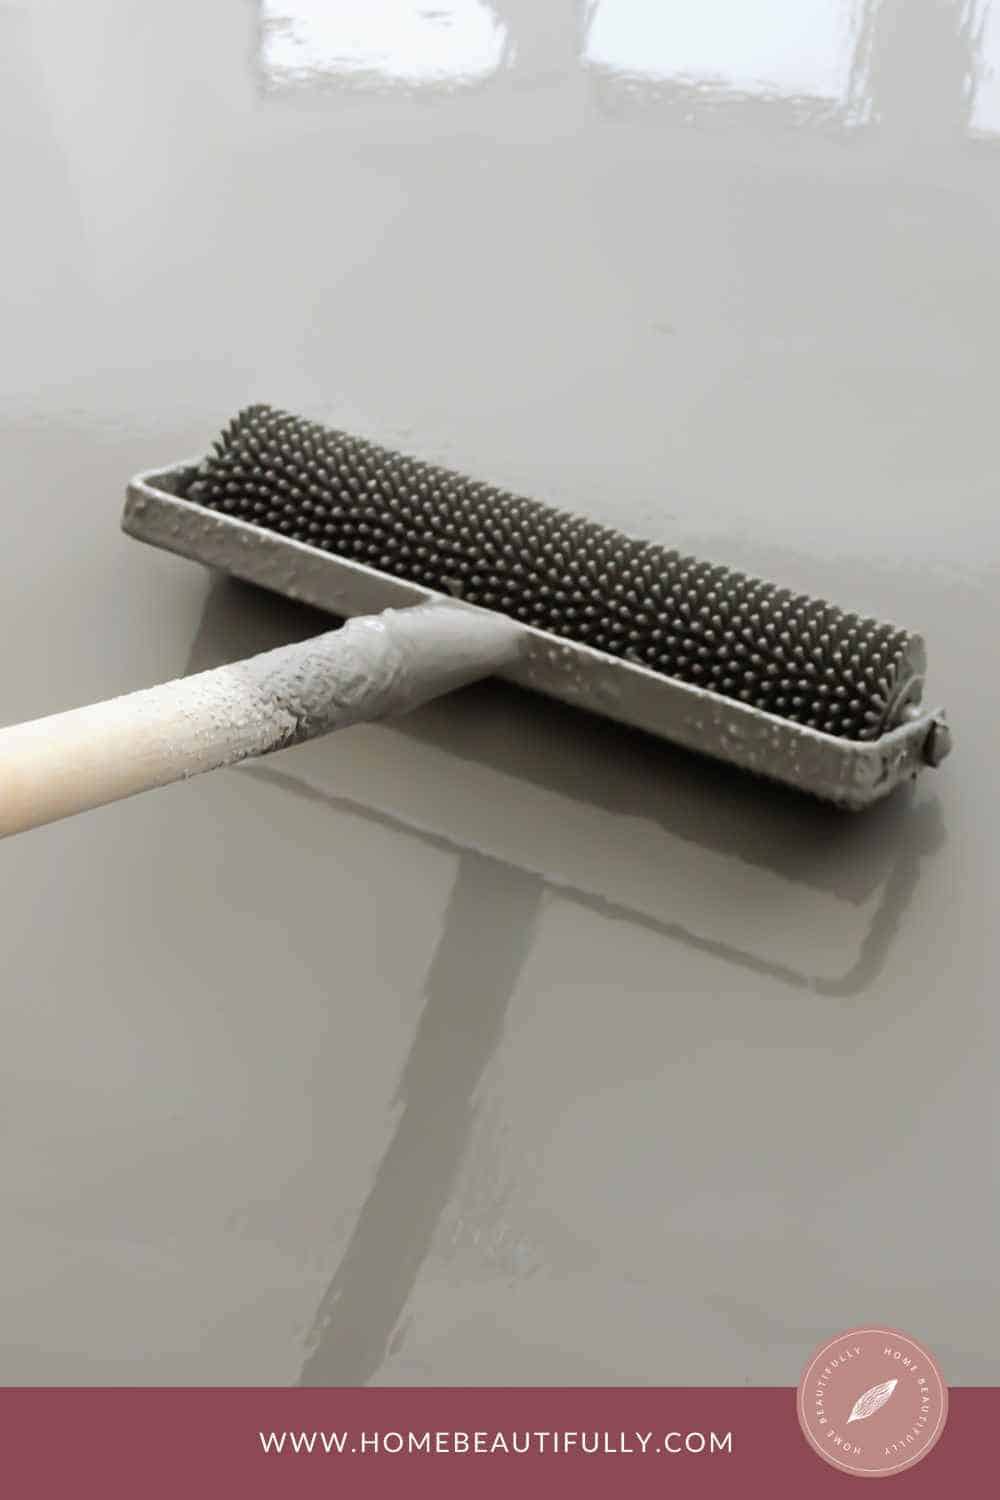
Once the epoxy is mixed, it’s time to apply the epoxy coating using a roller or brush. Be sure to work in small sections and apply the epoxy evenly to avoid drips and streaks.
If you’ll be adding accents or patterns to the floor, use painter’s tape. You’ll need to mask off the areas where you’ll be applying them.
Keep an eye out for any air bubbles that may form in the epoxy as you work. Pop them with a needle as needed.
You can achieve a professional-looking finish with care and attention to detail.
Step 4: Apply Clear Coat & Finishing Touches
Once you’ve applied the epoxy to your basement floor, it’s time to add any finishing touches.
If you’d like to add some visual interest to your floor, you can use a contrasting color of epoxy or add patterns or designs using stencils.
Be sure to let the base coat of epoxy cure completely before adding any accents. Use painter’s tape to mask areas you don’t want to paint.
Once you’ve finished adding any accents, applying a top coat of clear epoxy is a good idea.
This top coat will protect the floor and give it a glossy finish. This will help seal the color and design and make the floor resistant to wear and tear.
Be sure to follow your epoxy kit’s curing times and instructions. The top coat may need to be applied in multiple thin layers.
Tips for a Successful DIY Epoxy Basement Floor
Here are some tips for a successful DIY epoxy basement floor:
Follow the instructions:
Carefully read and follow the instructions provided with your epoxy kit.
This will ensure that you mix and apply the epoxy correctly and achieve the best possible results.
Work in small sections:
To avoid drips and streaks, it’s best to work in small sections when applying the epoxy. This will allow you to distribute the epoxy and ensure a smooth finish evenly.
Avoid overloading the roller:
When you apply the epoxy with a roller, please be sure not to overload the roller with too much material. This can cause drips and an uneven finish.
Pop any air bubbles:
As you apply the epoxy, look for air bubbles that may form. Use a needle to pop any air bubbles you see to avoid an uneven finish.
Be patient:
Epoxy takes time to cure and dry. Be sure to follow the recommended curing times. Avoid walking on or using the floor until it is fully cured.
Frequently Asked Questions
Does epoxy also work for garage floor coating?
Yes, epoxy coatings can be a good option for a garage floor. Epoxy creates a durable and attractive finish that is resistant to staining, scratching, and scuffing, making it well-suited for use in a garage.
In addition, epoxy can help to hide imperfections in the concrete and create a seamless, professional-looking finish.
If you’re considering using epoxy for your garage floor, it’s essential to properly prepare the surface and follow the instructions provided with your epoxy kit.
As with any DIY project, gather all necessary materials and take appropriate safety precautions. With little effort, you can transform your garage floor into a functional and stylish space.
What type of epoxy should I use for my basement floor?
Many types of epoxy are available, and the best option for your basement floor will depend on your specific needs and preferences. Here are a few things to consider when selecting an epoxy for your basement floor:
Two-part vs. one-part:
Epoxy is available in both two-part and one-part formulations. Two-part epoxy requires you to mix a resin and a hardener before applying.
One-part epoxy comes pre-mixed and is ready to use. Two-part epoxy is generally more durable and long-lasting, but it can be more challenging and requires more precise measuring.
One-part epoxy is easier to apply but may need to be more durable.
Gloss vs. matte finish:
Epoxy is available in both gloss and matte finishes. A gloss finish will create a shiny, reflective surface, while a matte finish will have a more subtle, satin-like appearance.
Color options:
Epoxy is available in many colors, so you can choose a color that matches your style and decor. Some epoxy kits even allow you to create custom colors by mixing pigments.
Price:
Epoxy can vary significantly in price, so shopping around and considering your budget when selecting a product is essential.
Researching different epoxy products and reading reviews before deciding is a good idea.
Consider consulting with a professional or seeking advice from someone with experience with epoxy floor coatings.
What happens if you don’t etch the concrete first?
If you don’t etch the concrete before applying an epoxy coating, the epoxy may not adhere properly to the surface.
This can cause the epoxy to peel or blister over time, reducing its durability and lifespan. Etching the concrete helps to create a rough surface that allows the epoxy to bond more effectively.
With proper etching, the epoxy may have a strong enough bond to the concrete, leading to issues with adhesion.
It’s worth noting that some epoxy kits may include an etching solution or may not require etching at all.
Be sure to read the instructions provided with your specific epoxy kit to determine whether etching is necessary and how to prepare your concrete’s surface properly.
What type of flake should you use?
Flakes are usually small pieces of colored plastic or acrylic sprinkled onto the wet epoxy to create a decorative finish. Many different flakes are available, and they come in a wide range of colors.
The best option for your project will depend on your style and the look you want to achieve. Here are a few things to consider when selecting flakes for your epoxy floor:
Size:
Flakes come in various sizes, ranging from large chips to small particles. The size of the bits will affect the overall appearance of the finished floor, so be sure to choose a size that suits your preferences.
Color:
Flakes are available in many colors, so choose a color that matches your decor or creates the desired effect. Some epoxy kits even allow you to mix different shades of flakes to create a custom look.
Type:
Flakes are made from different materials, including plastic and acrylic. Plastic chips are generally more economical, while acrylic flakes are more durable and resistant to fading.
Quantity:
Be sure to purchase enough flakes to cover your floor. The number of flakes needed will depend on your floor’s size and the finish’s desired thickness.
It’s a good idea to research different flakes and read reviews before deciding. Consider consulting with a professional or seeking advice from someone with experience with epoxy floor coatings.
Let’s Wrap Up
Following the steps outlined in this tutorial could give your basement a beautiful, durable, and easy-to-maintain floor.
We hope this tutorial was helpful and that you feel proud of your accomplishment. Always follow the instructions provided with your epoxy kit and take appropriate safety precautions when working with epoxy.
With care and attention to detail, you can create a floor that you’ll love for years.